Behind every beautiful-looking and robustly standing boundary of a wooden fence, there is hidden smart work done during its installation process. The durability and appeal of a fence depend significantly on the installation, and that’s why understanding and employing the most suitable techniques is essential. Preparing the site, getting the right wood, using proper tools, and so much more is involved in this process, and even a minor error can be a hurdle in proper installation.
Thus to make sure you smoothly accomplish this task, we have got you a detailed guide on using advanced techniques to install your wooden fence with great precision. Let’s check it out:
The Right Installation Technique For Your New Wooden Fence
1. Preparation and Planning:
Every great project should start with good planning, and installing a wood fence is no exception. Begin by using flags or spray paint to mark property lines accurately before installation to avoid mistakes or boundary disputes. Your planning must include:
Laser-Guided Measuring Tools for Perfection
Forget the old tape measure; laser-guided tools ensure ultra-precise measurements to plot your fence layout. These tools are invaluable when dealing with irregularly shaped properties or slopes.
Perform Soil Testing
Understanding your soil type can make or break your fence’s durability. Clay soils, for example, require deeper post holes, while sandy soil might need concrete reinforcements. Conduct a simple soil test using a garden spade, or ask a local expert for help.
2. Choosing the Right Materials
The material you choose makes all the difference whether its about visual appeal or quality of wood. Modern wood options offer a blend of beauty, strength, and environmental responsibility, ensuring that your fence stands the test of time.
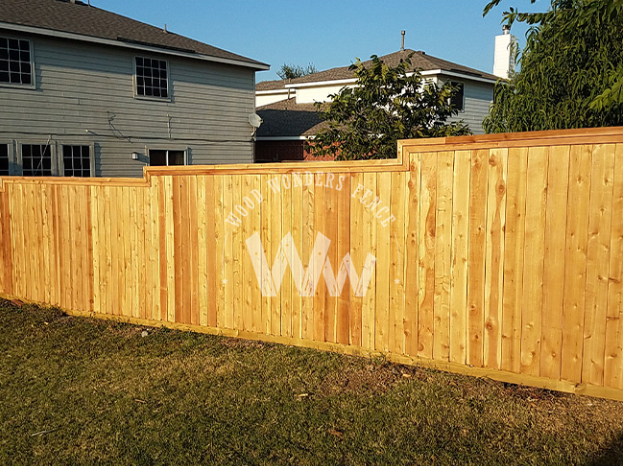
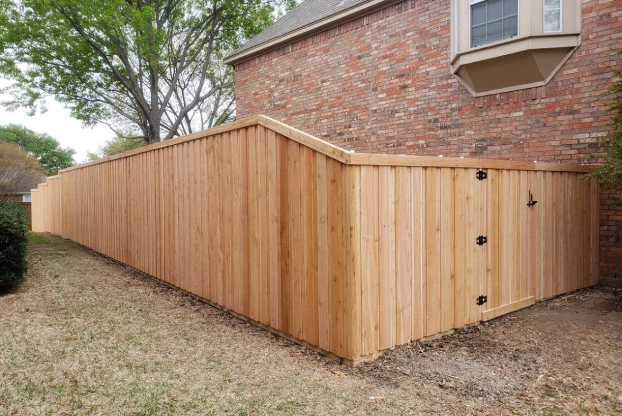
Premium Wood Options: Cedar, Redwood, and Beyond
Woods like cedar and redwood are naturally resistant to rot, decay, and insect damage, making them excellent choices for outdoor use. These materials offer a natural charm and rich color, requiring less maintenance compared to other wood types. The oils in cedar wood naturally protect it from insects like termites, making it an ideal choice for homeowners.
When installing, leave a small gap between fence boards to allow for natural expansion and contraction due to weather changes. This prevents warping and ensures a longer-lasting structure.
3. Advanced Post Installation Techniques For Extra Stability
Setting the posts is arguably the most critical step in the fence installation process. Using the given advanced techniques ensures that your fence remains sturdy, even in harsh weather.
Helical Piles for Tough Conditions
If your property has tricky soil conditions, such as clay or areas prone to freezing, helical piles offer a strong foundation. These metal anchors are drilled into the ground, providing extra stability that traditional post-setting methods might lack.
Consider using gravel at the bottom of post holes for added drainage. This prevents water accumulation and reduces rot, especially in areas with heavy rainfall.
Dry-Setting Concrete
Innovative dry-setting techniques allow for faster installations. Simply place your post, pour dry concrete mix into the hole, and add water. The concrete hardens more evenly around the post for a tight fit and with less waiting time.
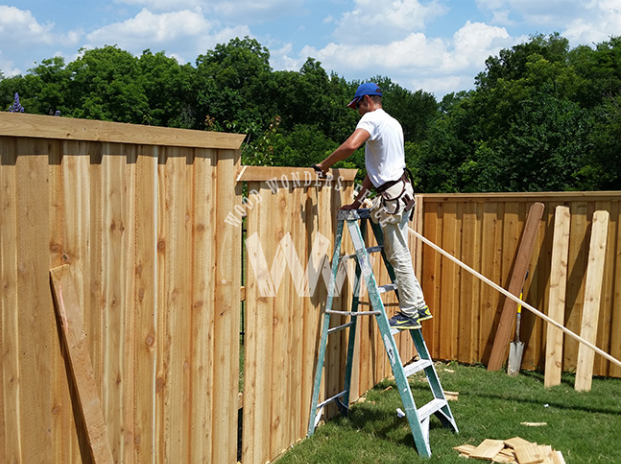
4. Innovative Panel Installation: The Creative and Efficient Route
Once the posts are firmly in place, it’s time to install the panels. This step turns your basic framework into a functional barrier.
Pre-fabricated panels for a Custom Look
These panels offer a modern twist on traditional fence building. Not only do they speed up the installation process, but they also ensure a clean, uniform look across the entire fence. Many come in customizable designs, allowing you to tailor the look to your property.
For a unique look, consider alternating panel heights or adding decorative cutouts to your fence. This can enhance the visual appeal while still maintaining privacy.
Hidden Fasteners for Clean Finishes
Instead of traditional nails or screws, modern installations use hidden fasteners. These secure the panels without visible hardware to create a smooth & polished appearance. This method reduces the chances of rust or weather exposure that may affect the hardware.
5. The Finishing Touches:
After the main installation, the final touches can make a significant difference in both appearance and longevity.
Custom Post Caps for Personality
Adding post caps is a simple but effective way to personalize your wood fence. Options range from traditional wooden caps to solar-powered lights, which add both charm and functionality by lighting up the fence line.
UV-Resistant Sealants for Long-Term Protection
Wood fences are vulnerable to fading and weather damage. Applying a high-quality, UV-resistant sealant ensures your fence remains beautiful and protected from the elements.
Quick Tip: For coastal or humid environments, choose a water-repellent sealant that protects against moisture buildup and mold growth.
Wrapping Up
Using the right tools, techniques, and innovative tips, you can quickly and perfectly install your wooden fence and ensure its longevity. If you need professional help, you can consult our experts at Wood Wonders Fence to conveniently install your fence with perfection at your property!